
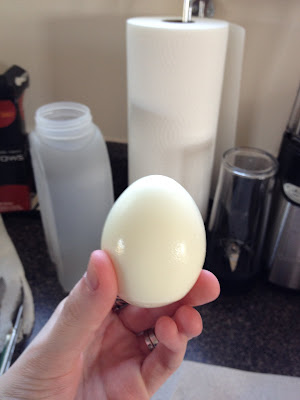
If you have laying chickens like us you have at some point come across trying to peel your fresh eggs and boy is it a pain considering they usually never peel right. Some people like to play the waiting game when deciding to hard boil eggs and use the oldest batch they have but sometimes that still doesn't cut it when it comes time to peel them! If your making egg salad it's not that big of a deal but deviled eggs can be impossible!! If your like us you have also looked online for all sorts of ways to peel them. For example some people say if you add vinegar to the water it makes a difference or when you go to peel them use hot water...etc! Unfortunately none of these really work but thankfully I have found the key!!! I have done this only two times but both times I have had no problem peeling the eggs! So here are the steps...ENJOY!
1) Be patient I say this because there are a few steps in the process but it is worth it...So no skipping steps because every step is important.
2) Poke a whole in the end of every egg
3) Place the eggs in the bottom of your pot; do not stack them on top if each other only put enough to fill the bottom of the pot
4) Pour cold water over the eggs leaving an inch of water over the eggs
5) Bring to a boil and let boil for 10 minutes
6) Put the eggs in a bowl of ice cold water for 1 minute
7) Place one egg at a time in simmering water for 10 seconds which is just enough time to take one out and put one in
8) Do not wait for eggs to cool off peel them under running warm water
TADA!
Also I'm not sure how many of you are familiar with the website pinterest but it is a site full of DIY ideas! While on there one day I saw where someone had a picture up of dyed deviled eggs. After reading the blog behind the picture the woman said it was a family tradition that every Easter her mother would make these colorful deviled eggs for her and her siblings! So since we are about to start a little family of our own I thought I would try this out and see if it was something I could easily do as a family tradition for us. Also I wanted to see for myself if it effected the taste of the deviled eggs!
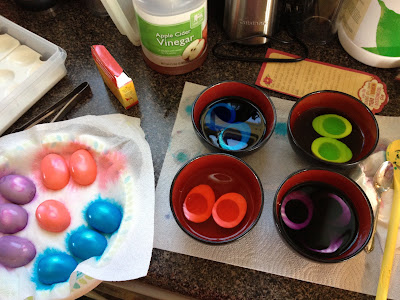
As you can see once I sliced and took out the yoke that's when there ready to dye. I used neon dye because that's what I had but for Easter I would use pastel dye. On the back of every dye box there's directions on how to dye Easter eggs and that is what I used minus the boiling water instead I just used hot water which worked fine. After letting them sit in the dye for 5 minutes I put them on a paper plate with a paper towel face down so the dye wouldn't sit in the hole. After doing this a couple times I waited a bit to let the dye dry. How to make sure it's dry enough is to just touch it with your fingers and see if it turns them that color, if not they should be fine. Double check the centers though and if they seem like there still wet use a paper towel and gently blot them, a little color is fine.

Expect them to be darker in the center and maybe even look wet but they're not its just from the dye. Next step is to fill them as you'd like! Also if your wonder why I didn't let them continue drying in the egg tray it is because I didn't want to get dye all over my trays and it makes people think twice about eating it if it's leaving dye on everything!
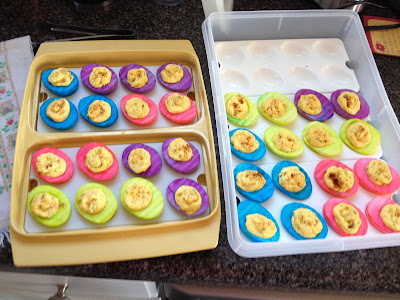
And here they are! I am thankful to say they passed the taste test and didn't have even a hint of vinegar flavor! Also I used apple cider vinegar because that was all I had and it still had no effect on the taste! For my first time ever making deviled eggs they turned out to be colorfully delicious!


